Posted Thursday, June 14, 2012 @ 02:25 PM
It finally warmed up enough around here to attempt to do the canopy. So far, I'm happy with the results.

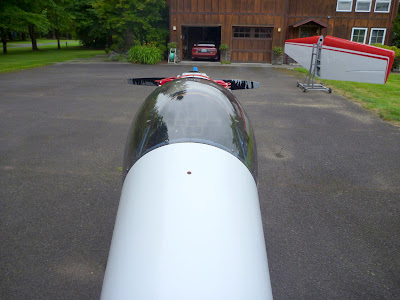
First, let me restate that Todds Canopies are blown, not draped over a form like the original canopy. Because of this, they have a very different shape than the original. I had this one made with extra headroom, but the blowing process also makes it bulge out a bit on the sides. Even one made without extra headroom will probably bulge out a bit. The shape is also more rounded in profile on the top, whereas the original follows the lines of the fuselage forward and then curves sharply down in the front. So, if you want the original shape, you need to get a draped canopy made from an RF4D canopy plug. That said, I needed to have the extra headroom, so there wasn't really a choice.
There are probably many different ways to do the job, but this is how did this one � based in large part on my experience mounting the canopy on my RV-6A:
The first part of the process is fitting the empty frame so it closes without having to pull or twist it and so that there is exactly a 3/8" gap all around. This will assure that the frame is perfectly straight and you can use it as a guide to cut the plastic. If you match the plastic to a crooked frame, the finished canopy will not fit properly. This is the most critical part of the process and I spent a lot of time bending and tweaking the frame.
Once the frame is straight, you can place it inside the plastic bubble. The handle sticks out on one side and the hinges stick out on the other, so you will need to make cutouts for them. The cutouts are critical for the correct fit. The bubble shape fits the frame OK in the front, but in the rear, the frame is tall and the bubble is round. Mark a centerline on the frame front and back and on the bubble to help with alignment. Gently push the plastic against the rear part of the frame until you can ascertain where the cuts for the handle would go and mark the cuts. Do not mark the hinge cuts at this time.
I used a �� round file (and elbow grease) to make the 2 cuts for the handle. Once you can fit the side with the handle, wrap and gently clamp the plastic all around the frame to determine where the cutouts for the hinges will be, and mark those as well as the emergency release lever.


Once the hinge cuts are made you can gently clamp the entire canopy to the frame. You should not need to twist the frame to make it fit, if so, then trim the cutouts. I put some popsicle sticks along the frame to simulate the thickness of the �tail� on the rubber P-strip I planned to use.
At this point, mark the holes through the plastic. Use a step drill to drill them (never a regular drill). Make the holes oversize to allow for expansion on the bubble. When the bubble screwed loosly to the frame, mark 3/8" around the frame on the extra plastic and trim it off with an air cutter with a very thin cut-off wheel. Never use any kind of toothed saw.


For the first fitting it may be tight and have some interference. This is good, just keep trimming (disk, files, sandpaper) it till it goes on and closes properly. Then mark for a nice an even 1/8� gap between the plastic and the fuselage and do the final trimming.
One problem I discovered is that since the bubble is very rounded and tucks in at the bottom, I need to put some shims along the bottom frame rail to make the bubble align with the outside of the fuselage. Maybe Todds can change their blowing technique to help reduce the rounding at the bottom.
I have not put in the P-strip yet. It is an Aircraft Spruce item #05-00020. I also plan to use the original screws and washers. I do not plan to put in a window, but I will add some pop-up air vents. As I said, this is how I fit this one, other people may have other techniques.
--------------------
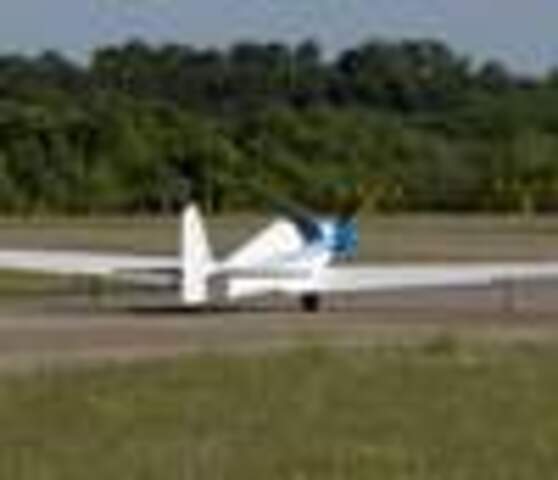
Dann Parks � RF4D #4051 N2188 � now flying!
Pictures at: https://picasaweb.google.com/111628310900713778468/RF4D_N2188?noredirect=1