|
|
 |
|
|
|
| Author |
Messages |
Jorgen
Unregistered

|
      
 Posted Sunday, March 23, 2008 @ 05:55 PM Posted Sunday, March 23, 2008 @ 05:55 PM
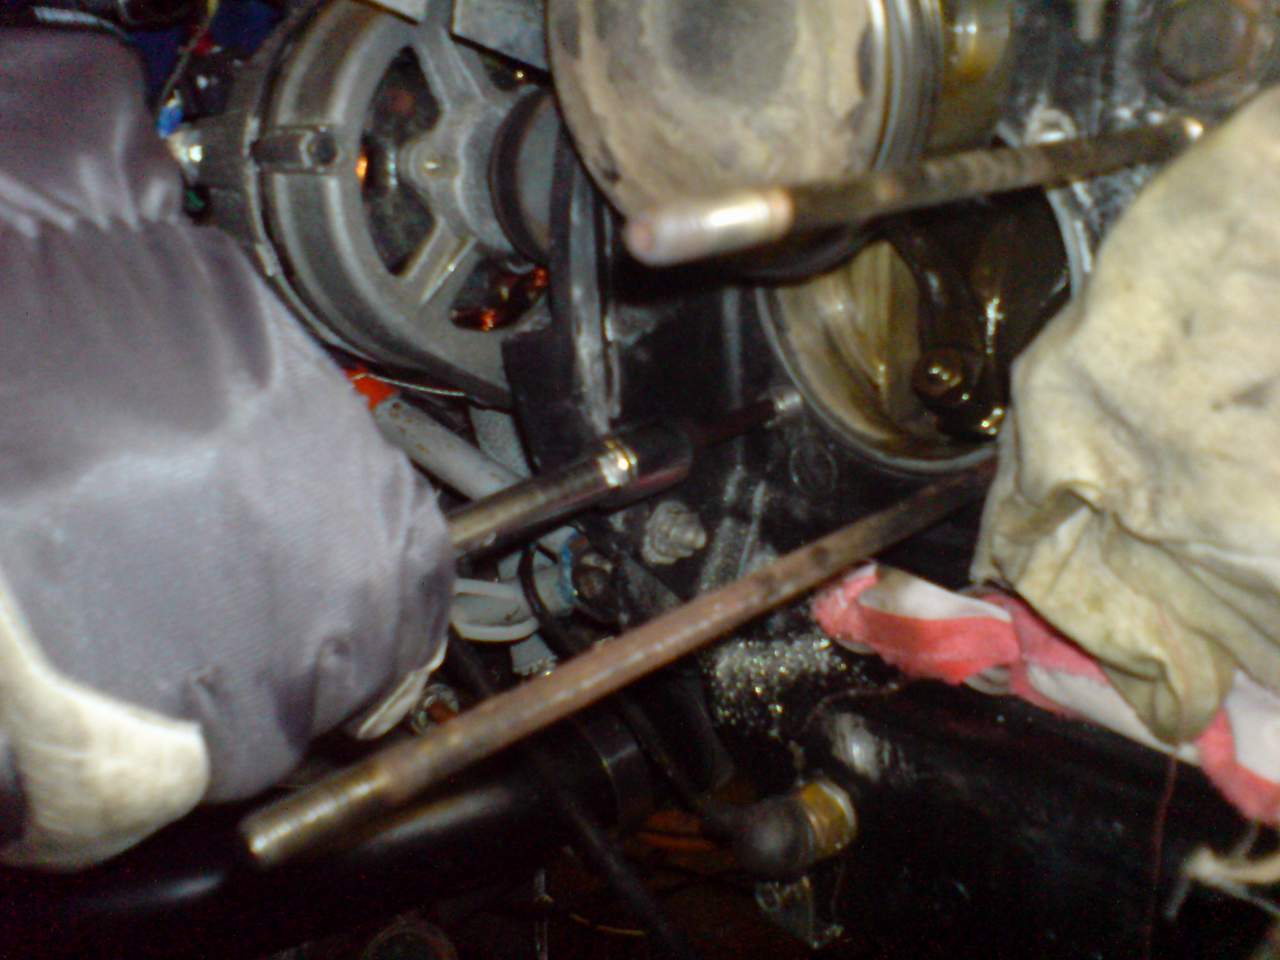
Sometimes I must admit that I don�t feel overly motivated to do (yet another!) annual inspection. After all, the engine sounded just fine as usual on start-up although the battery had gone weak (I had missed to top up the acid...). But yesterday I was reminded why it should allways be done! When I removed the valve cover on SE-UDI I found a nut and washer- one of the cylinder head studs were broken. It was of course as dictated by Mr Murphy (you know the guy with the law...) broken just at entering the engine block.
I will get help this week drilling it out and probably we�ll use an extraction kit with drill sheaths and flanged rods to hammer into our hopefully centered drilled hole in the studstump. We also plan to use a good amount of WD 40 and violence on the broken stud to, as they say here, "awaken the threads". We also plan to change the other studs at the right side while we�re at it.
Since this is a fairly common VW-problem I guess some of you guys have had similar experiences. What type of studs do you use- special ones like Great Plains "Premium Stud Kit" http://www.greatplainsas.com/sccylparts.html or is VW stock or racing studs better? I�ve heard that it might not be a vibration/fatigue problem but an "overtightening"-problem.
I�m sure ther are some opinions about this, I�ll keep you posted.
Take 5(b) just 4 fun/ J�rgen, SE-UDI, SE-XST

|
Collin
Unregistered
|
Posted Sunday, March 23, 2008 @ 06:50 PM
Hello,
Here is some info from Limbach.
http://www.cfiamerica.com/images/905.700.026.305.pdf
|
Jorgen
Unregistered
|
Posted Monday, March 24, 2008 @ 04:29 PM
Hi Collin,
thanks for the Limbach info. But I don�t really understand what they mean, is it or is it not possible to retrofit the reinforced studs (or rather the inserts)? Another question is whether it is possible to fit the reinforced studs thicker end through the cylinder heads, there is a tight fit as it is on the 2000.
Take 5(b) just 4 fun/ J�rgen, SE-UDI, SE-XST
|
Jorgen
Unregistered
|
Posted Saturday, March 29, 2008 @ 06:08 PM
Hi Guys,
just an update on my studstumpin�. We drilled the stump out today, we had to drill up to 6,4 mm (stock studs are 8 mm) after which we hammered in a flanged rod and could unscrew the broken studstump- along with the 12 mm threaded insert.
It turns out that the Limbach 2000 E01 on SE-UDI is from 1982, thus too old to be possible to upgrade to 10 mm studs described in the Limbach info that Collin provided, reportedly because removing threaded inserts can damage the crankcase. Also, you would have to enlarge the studholes in the cylinders and cylinder heads(we checked today) leaving precious little margins.
It might be that these inserts on SE-UDI are rests after previous repairs were they had to drill stumps out or maybe original inserts with loctite around the stud, which would explain why the insert and not the stud came out. My plan is to change all the studs to stock 8 mm studs and if threaded inserts are unscrewed when dismantling just get new inserts to fit. I�d rather change the studs a little more often than do a more complicated repair/upgrade, a studkit is just 50 EUR!
Take 5(b) just 4 fun/ J�rgen, SE-UDI, SE-XST
[Edit by Jorgen on Tuesday, April 1, 2008 @ 04:13 PM]
|
andy1
Unregistered
|
Posted Thursday, April 3, 2008 @ 07:49 AM
Hi guys!
We got a permission (from the CAA) to use either Helicoils or W�rth inserts in 370. The first idea was to repair "easy" threads with Helicoils and "bad" ones with W�rths. The bad ones were repaired earlier by home made(!) studs that were machined out of 10 mm steel rod so that it had a 10 mm thread in the other end and rest of the stud was 8 mm. So the guys had been able to bore a bigger hole and thus remove the bad material - just like we used to do in our mopeds many years ago  After all the latter were so good, we fixed every 16 threads with them. The part number is 0660-302100 and I believe they are the same stuff which are known as Timesert. After all the latter were so good, we fixed every 16 threads with them. The part number is 0660-302100 and I believe they are the same stuff which are known as Timesert.
This site
http://web.telia.com/~u84003985/CITROEN/CXTANDSTIFT.HTM
has some photos of them. It's in Norwegian, but I believe it's not a problem for J�rgen.
This one
http://www.wuerth.de/de/medien/news/auto-0308-timesert.pdf
is in German.
And hey, there's even a pretty good one in English
http://www.wurthcanada.com/en/brochures/TimeSert%20Brochure%20EN.pdf
It was very easy to install the studs into new threads and I am certain they will last forever. A must thing to do in an overhaul!
-Antti-
--------------------
|
Jorgen
Unregistered
|
Posted Saturday, April 5, 2008 @ 06:08 PM
Hi again guys and thanks for excellent tips, Andy!
I haven�t decided on fixing all the inner threads in the inserts/engine block since I am still trying to make an "in situ" repair, I haven�t teared the engine down. Yet.
However, two insert came out with the studs, one of them was of course the broken stud but one more insert also came out when unscrewing the stud. These inserts are M 12 with 1,5 thread (usually M12 has 1,75 thread) on the outside and M8 inner thread, one is slightly less than 29 mm long, the other 34 mm. We removed the intact stud which required heating the insert red hot.
Forensic examination of the stud and the insert revealed that the end thread of the stud (at the bottom of the insert) had been damaged, which was why it couldn�t be unscrewed in a normal fashion. The most likely reason for this is overtightening, which probably explains why one stud broke too. Limbach calls for 25 nm torque on L 2000 E0 with 8 mm studs, and according to general workshop reference litterature this is consistent for 8 mm bolts of 8.8 metal quality. Friction "consumes" a significant part of torque, and 25 nm is valid for a stud or bolt which is oiled before insertion. Some Limbach studs (thicker ones) require 32 nm torque, so there is a risk of confusion. Or maybe someone just got sloppy.
My decision to change all studs seems correct, after all who knows how many have the wrong torque? When I asked if inserts are for sale the Limbach dealer in Sweden just laughed and wanted to sell me a new engine. Since the threads and lengths of the inserts are non-standard I have to get them custom made. I have 8 more studs to remove, so I might need more than two new inserts. Fortunately, I think I have a connection to a guy with the right credentials (and a huge lathe).....
Take 5(b) just 4 fun/ J�rgen, SE-UDI, SE-XST
|
andy1
Unregistered
|
Posted Monday, April 7, 2008 @ 11:16 AM
No problem, hope this helps in common. As we all know, aluminium and steel are not the best combination when they touch each other for long time. Corrosion will exist and that will lead to different kinds of problems. In most of those 40-year-old engines at least some of the threads in block is damaged. You should always keep them clean and the threads in good condition. Force may save once, but certainly cost the next time. Problem with oiled threads is the fact that normally the studs tend to come out instead of nuts when uninstalling cylinder heads. I believe that the best thing really is to install steel inserts, clean all the threads carefully and then use locktite or similar to lock the studs into the inserts. It also is some kind of protection against corrosion. After that the nuts come out and studs will stay attached into the block.
One tip before beginning to do this kind of job. Measure the lenght of the stud part that comes out of the block. Otherwise you can screw the studs too deep and get into problems as they are not long enough for installing the heads. Torque wrench is not a correct tool for the job. I already tried it, so you don't need to 
-Antti-
--------------------
|
Jorgen
Unregistered
|
Posted Thursday, July 3, 2008 @ 04:56 PM
Hi Guys,
an (little late since I've been flying a while) update on the studchanges and thanks again for good advice Antti. I got the inserts (two different sizes) made at a local workshop, they were perfect quality and when I asked for the bill they said "-We don't care too much for paperwork, can't we get a ride instead?" Obviously the type of connections you need to tend carefully, don't you think?
I cleared the threads in all inserts with brakedisc cleaner spray and installed the 2 new inserts with "heavy" Loctite (628?), to make sure they stay in there, and had no problems with that. The cylinders are grinded down (or forged that way) were the inserts sit, so there is no risk that a protruding insert compromise the cylinder fit. I changed all the studs and I decided to oil the studs before insertion, but you can of course use "light" Loctite as well. I just think it's not a big problem if the studs do come out if you dismantle. As you suggested I carefully measured the studs different lengths, but it turned out that all studs went in the bottom of the inserts by handforce only and a gentle tightening. Installing the cylinders were a little tricky, but with a modified piston ring compressor, some oil and a well judged whack it went comparatively easy. An experienced car mechanic comes in handy to learn that trick of the trade. Don't forget to install the "forget plates" (baffles that sit low and between the cylinders clamped on the middle studs) as I saw them called on a Swedish VW site. The rocker arm protector tubes need to be dragged out to length before installation and it is a good idea to change the rubber gaskets at the ends.
The liquide silicone gasket-guff was rather easily applicable before pressing the cylinders all the way in and installing the heads and the nuts on the studs(try to make the "guff"-string thick and with no breaks). Be sure you have the correct torqueforce for your engine, on the Limbach EO 2000 on SE-UDI it's only 25 Nm and since there are no gaskets on the cylinder heads it's crucial that you tighten the stud nuts in the correct X-wise fashion, Limbach has the manual as PDF:s on their website. When installing the rocker arms I discovered that some studs were too long. Instead of dismantling again I stuffed the head with rags to prevent grinding dust to get in and used a powered file to grind the studs down to proper length.
I think I even cured the slight oildripping that previously gave a faint oilsmell on full cruise, probably because the siliconegaskets at the cylinder foot is tighter now. Test flights have been satisfactory- that is, until I broke an outrigger again...see "outrageous outrigger" topic.
Take 5(b) just 4 fun/ Jorgen, SE-UDI, SE-XST
|
|
|
|
|
|
|
|
|
|
|
| Login |
|
|
In order to fully utilize the abilities of this board, you are required to register as a member. Registration is free, and allows you to do lots of things including turning on or off certain features of this board. Register now! |
| Forum Rules & Description |
Who Can Read The Forum? Any registered user or guest
Who Can Post New Topics? Any administrator or moderator
Who Can Post Replies? Any administrator or moderator
Who Can Edit Posts? Any original author
|
Tips for maintaining Fournier Motor gliders |
| Currently Active Users: 585 |
There are currently 0 members and 585 guests on the boards. | Most users ever online was 42535 on 04-07-2026 02:43 AM
|
| Search This Forum |
|
|
|
|
Powered by CuteCast v2.0 BETA 2
Copyright © 2001-2003 ArtsCore Studios
|
|